Monsterously Fun Halloween Card Set
About this Project
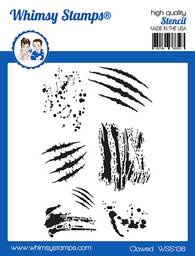
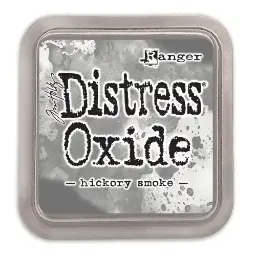
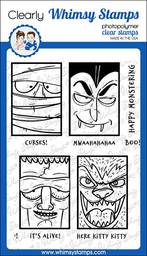
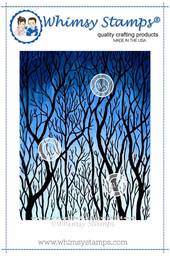
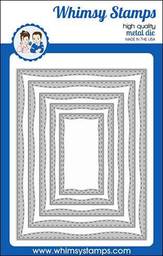
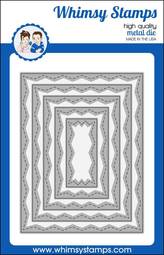
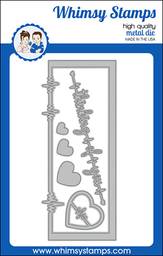
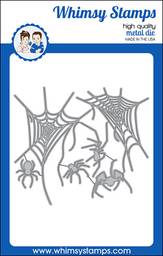
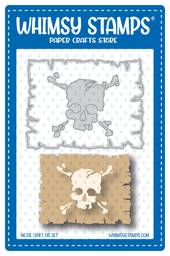
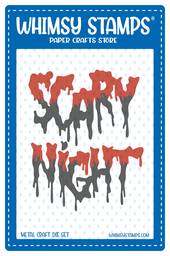
The first card I completed was the cool Mummy card which I created with the sadly now retired Web Background from Whimsy Stamps. I believe this was designed by Jennifer Dove from DoveArt Designs. I'm sad to see this stamp retire as it's a really cool background. In the video I show a version I stamped with Kaleidacolor Ink, but I ended up redoing the background with Distress Oxides in Lost Shadow and Hickory Smoke. I wanted a more muted background for the Mummy that wouldn't detract from his more subtle colours. I trimmed the edges of the panel with a Tim Holtz Deckle Edge Trimmer and added a fabulously spooky spider from Whimsy's Spiders and Webs Die Set. I tucked a little bit of Mummy Cloth behind the image, which I had distressed with Unravelled Mica Spray Stain and Pumice Stone Spray Stain. My final touch was the 'scary' word from the Scary Night Word Die Set. I used papers from the Sizzix Opulent Black Cardstock Pack. The matte and glitter cardstocks were the ones I used. I love how the Werewolf card turned out. I had intended to use the Tree Silhouette Rubber Cling Stamp for the background of this card, however when I had completed the colouring of the Werewolf I didn't like the colour combination. The tree scene was too colourful and overshadowed the wolf. I had a play with the Paint Splatter background as I was trying a different combination of inks for the Vampire card. But I ended up really loving the original panel I'd made for that card with Kaleidacolor Ink. So the Distress Oxide one I'd made as a backup, I tried with the wolf and really loved that combination. I had used Lumberjack Plaid and Aged Mahogany Distress Oxide Inks for that version. I diecut this panel with the Zig Zag Stitched Rectangles Die Set. I added some fun interest to the panel with the Clawed Stencil and some custom coloured texture paste. I show the process of this in the video. I added a sentiment from the same stamp set as the images and a little corner die from Whimsy's ATC Book Die Set. For the Vampire card I used the panel I created with the Paint Splatter Background and Kaleidacolor Ink. I ended up really loving how it looked with the Vampire. Once I coloured his eyes red, it all came together! I used a fun sentiment also from the Monster Close Ups Set which reminds me of one of my lovely bosses, so I had such fun with it. I used a cool slimline die set called Slimline Heartbeats to add the heartbeat tracing behind the image. I diecut the background with the fabulous Treasure Map Die Set and mounted it onto a page from the Sizzix Opulent Cardstock Pack. I matted both the image and the background panel with the brushed metal finish cardstock. For my Frankenstein's Monster card, I used the second background I created for this character after not liking the colour combination of the first. I used a bit of Wilted Violet Distress Oxide to edge the panel after I created it, as the Kaleidacolor Ink I used had some muted purple shades in it. A slightly different combination to what I might usually choose, but I really love how this turned out. I did add some spooky blood shot details to the monster's eyes for an extra creepy touch. I diecut the background panel with the Wonky Stitched Rectangles Die Set and added it to a side folding card base I created from another of the lovely cardstocks from the Sizzix Opulent Black Cardstock Pack. This one is the Black Pearl Cardstock. I used it to matte the image too. I diecut that Black Pearl panel with a smaller frame from the Wonky Stitched Rectangles Die Set. I used another sentiment from the Monster Close Ups Stamp set, which I stamped onto a strip of cardstock inked with the same Wilted Violet Oxide as I used on the main panel. I had such fun creating this card set. The video is a long one as I had four makes to share, but I've added chapters so it's easier to navigate to different sections that might be of interest. I have also done a video for the colouring of these characters which I share over on my YouTube Channel ~ Crafty Kiwi Mama. Simple colouring with Copic Markers.
Date
August 19, 2026
Techniques
Stamping, Diecutting, Stencilling, Ink Blending, Copic Colouring,
Occasions
Products Used
 My Sweet Petunia
Tool
Black Original MISTI Laser Etched
My Sweet Petunia
Tool
Black Original MISTI Laser Etched
 Altenew
Tool
Crafter's Essential Scoring Board
Altenew
Tool
Crafter's Essential Scoring Board
 Tonic Studios
Tool
Guillotine Comfort Trimmer (8.5")
Tonic Studios
Tool
Guillotine Comfort Trimmer (8.5")
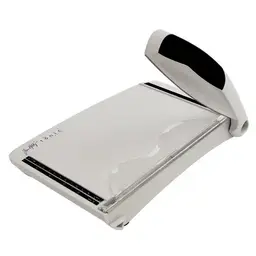 Gina K. Designs
Storage
Fine Tip Bottles
Gina K. Designs
Storage
Fine Tip Bottles
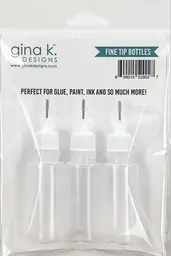 Gina K. Designs
Adhesive
Connect Glue - 2 oz.
Gina K. Designs
Adhesive
Connect Glue - 2 oz.
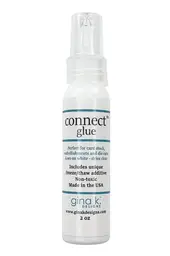 Scrapbook.com
Adhesive
Mint Tape - 1"
Scrapbook.com
Adhesive
Mint Tape - 1"
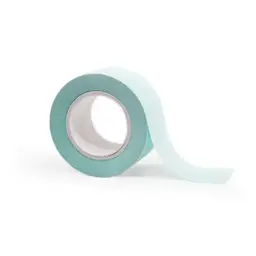 Ranger Ink
Ink - Full Sized
Distress Oxide - Lumberjack Plaid
Ranger Ink
Ink - Full Sized
Distress Oxide - Lumberjack Plaid
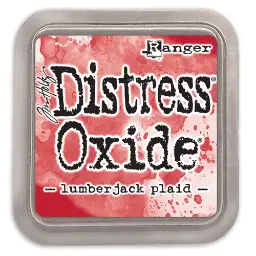 Ranger Ink
Ink - Full Sized
Distress Oxide - Aged Mahogany
Ranger Ink
Ink - Full Sized
Distress Oxide - Aged Mahogany
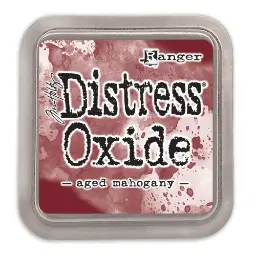 Ranger Ink
Ink - Full Sized
Distress Oxide - Carved Pumpkin
Ranger Ink
Ink - Full Sized
Distress Oxide - Carved Pumpkin
 Ranger Ink
Ink - Full Sized
Distress Oxide - Squeezed Lemonade
Ranger Ink
Ink - Full Sized
Distress Oxide - Squeezed Lemonade
 Ranger Ink
Ink - Full Sized
Distress Oxide - Spiced Marmalade
Ranger Ink
Ink - Full Sized
Distress Oxide - Spiced Marmalade
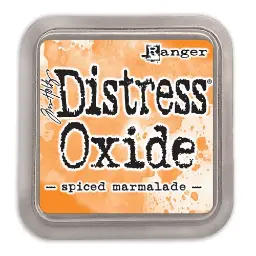 Ranger Ink
Ink - Full Sized
Distress Oxide - Villainous Potion
Ranger Ink
Ink - Full Sized
Distress Oxide - Villainous Potion
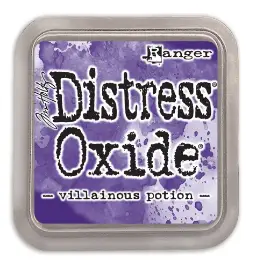 Ranger Ink
Ink - Full Sized
Distress Oxide - Wilted Violet
Ranger Ink
Ink - Full Sized
Distress Oxide - Wilted Violet
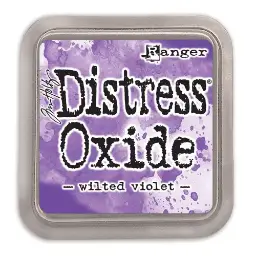 Ranger Ink
Ink - Full Sized
Distress Oxide - Lost Shadow
Ranger Ink
Ink - Full Sized
Distress Oxide - Lost Shadow
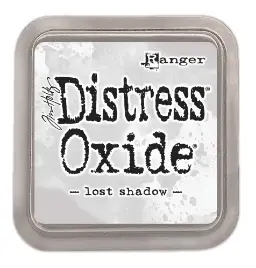 Ranger Ink
Ink - Full Sized
Distress Oxide - Hickory Smoke
Ranger Ink
Ink - Full Sized
Distress Oxide - Hickory Smoke
 Ranger Ink
Ink - Full Sized
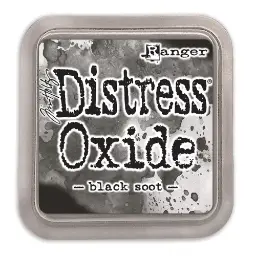
Distress Oxide - Black Soot
Ranger Ink
Ink - Full Sized
Distress Oxide - Black Soot
 Gina K. Designs
Tool
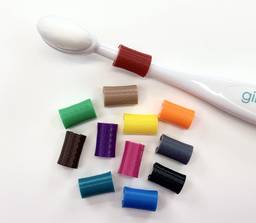
Blending Brush Color Clips
Gina K. Designs
Tool
Blending Brush Color Clips
 Whimsy Stamps
Tool
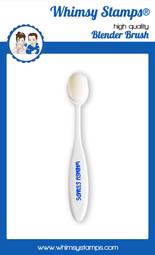
Whimsy Blending Brushes - Small
Whimsy Stamps
Tool
Whimsy Blending Brushes - Small
 Whimsy Stamps
Tool
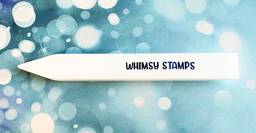
Whimsy Stamps Teflon Bone Folder
Whimsy Stamps
Tool
Whimsy Stamps Teflon Bone Folder
 Altenew
Tool
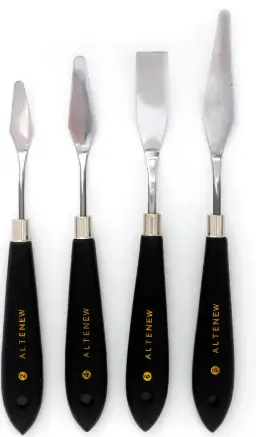
Mixed Media Palette Knife Set
Altenew
Tool
Mixed Media Palette Knife Set
 Tsukineko
Ink - Full Sized
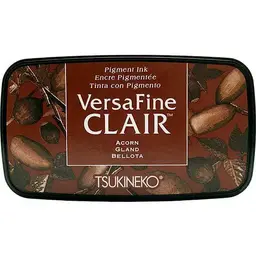
VersaFine Clair - Acorn
Tsukineko
Ink - Full Sized
VersaFine Clair - Acorn
 Tsukineko
Ink - Full Sized
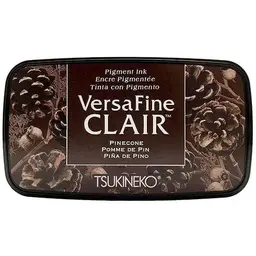
Versafine Clair - Pinecone
Tsukineko
Ink - Full Sized
Versafine Clair - Pinecone
 Tsukineko
Ink - Full Sized
Simon Says VersaFine Clair - Nocturne
Tsukineko
Ink - Full Sized
Simon Says VersaFine Clair - Nocturne
 Whimsy Stamps
Stamp Set
Monster Close Ups
Whimsy Stamps
Stamp Set
Monster Close Ups
 Whimsy Stamps
Stamp Set
Tree Silhouette
Whimsy Stamps
Stamp Set
Tree Silhouette
 Whimsy Stamps
Stamp Set
Exclamation Background
Whimsy Stamps
Stamp Set
Exclamation Background
 Whimsy Stamps
Die Set
Wonky Stitched Rectangles
Whimsy Stamps
Die Set
Wonky Stitched Rectangles
 Whimsy Stamps
Die Set
Zig Zag Stitched Rectangles
Whimsy Stamps
Die Set
Zig Zag Stitched Rectangles
 Whimsy Stamps
Die Set
Slimline Heartbeats
Whimsy Stamps
Die Set
Slimline Heartbeats
 Whimsy Stamps
Die Set
Spiders and Webs
Whimsy Stamps
Die Set
Spiders and Webs
 Whimsy Stamps
Die Set
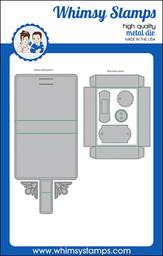
ATC Book Die Set
Whimsy Stamps
Die Set
ATC Book Die Set
 Whimsy Stamps
Die Set
Treasure Map
Whimsy Stamps
Die Set
Treasure Map
 Whimsy Stamps
Die Set
Scary Night
Whimsy Stamps
Die Set
Scary Night
 Whimsy Stamps
Stencil Set
Clawed
Whimsy Stamps
Stencil Set
Clawed