Tri-Fold Holiday Shaker
About this Project
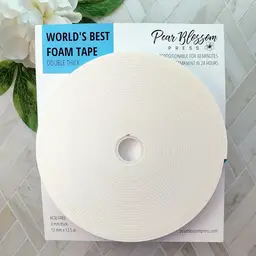
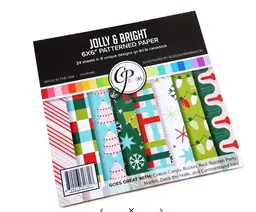
This tri-fold holiday card has a secret...its shaker panel is SEE-THROUGH!! How fun and festive is that?? I will warn you, this is not exactly a 15-minute card, but it's definitely worth the time for the wow factor at the end. Just make sure you give it to someone you reeeeally like! ;) I had the pleasure and honor of making this card live on the Emily Moore Designs YT channel, so the full instructional video is linked below. The following instructions are just loosely provided to assist. Save 10% at Emily Moore Designs with my code IRENE10 & my affiliate link here: https://emilymooredesigns.com/?aff=26 1) Score both card bases. Show how they fit together. Trim as needed to fit. 2) Die cut 2 white panels with Card Sentiment Dies large layer. 3) Die cut 1 white panel from Decorative Sentiment Dies large layer. 4) Cut A2 panel of Jolly & Bright checker print paper. 5) Line up on card front and cut through both pieces with middle size of Curvy Ornament Nested Die Set. (Leave space for topper.) Save cut out piece. 6) Die cut 3 white glitter toppers. 7) Die cut 1 medium Dainty Bow Die from Rockin’ Red cardstock. 8) Die cut 1 white glitter MERRY from Merry Christmas Word Dies – Short & Sweet. 9) Die cut 1 white glitter shadow Christmas. 10) Die cut 1 Christmas from Rockin’ Red cardstock. 11) Die cut 1 small set of Holly leaves from Martini cardstock. 12) Die cut 1 small set of Holly berries from Cotton Candy cardstock. 13) Ink blend Cummerbund onto to 2 Card Sentiment large layer panels (or cut 2 Card Sentiment large layer panels from Cummerbund cardstock). 14) Ink blend Cummerbund & Martini onto inner panel of 2nd card base. 15) Splatter with Tim Holtz Picket Fence Spritz. Set aside to dry. 16) Add Martini ink to leaves and Rockin’ Red ink to berries. 17) Trim ¼” off top & side of both acetate panels. 18) Apply tape runner to card front around ornament opening. Top with acetate sheet. 19) Apply tape runner to back of pattern paper. Back with acetate sheet. 20) Apply double thick foam tape around ornament on card front. 21) Fill with Ruby Red & Evergreen Sparkle Spots and Shimmer Snowflakes embellishments. Spread out to cover ornament shape in thin layer. 22) Top with pattern paper panel. LINE UP CAREFULLY. 23) Assemble 2 card bases to tri-fold. 24) Open up and adhere both inner panels. Add decorative white panel to center. 25) Assemble ornament & sentiment for right panel. 26) Open & close tri-fold to ensure it works. Enjoy!
Date
November 20, 2026
Techniques
die cutting, ink blending, splatter, fun fold, shaker
Occasions
Products Used
 Catherine Pooler Designs
Ink - Full Sized
Rockin' Red
 Catherine Pooler Designs
Ink - Full Sized
Martini
 Catherine Pooler Designs
Ink - Full Sized
Cummerbund
 Trinity Stamps
Embellishment
Ruby Red Sparkle Spots Confetti
 Trinity Stamps
Embellishment
Evergreen Sparkle Spots Confetti Embellishments
 Pear Blossom Press
Adhesive
World's Best Foam Tape - Double Thick