Milky Way

About this Project
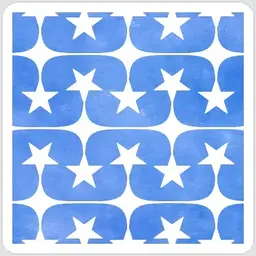
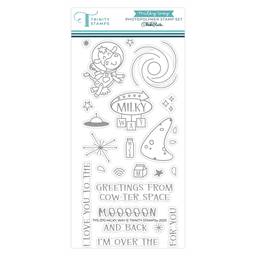
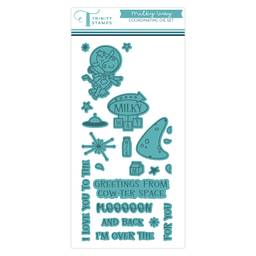
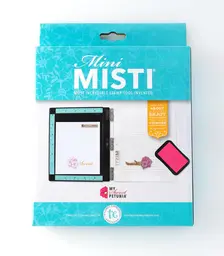
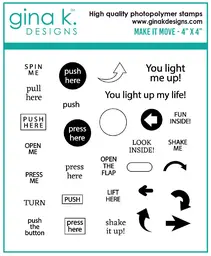
I started with a 5 x 7 inch piece of Hammermill Premium Color Copy Cardstock 100 lb. I added some spray stencil adheisive to the back of my Stars on Lines stencil from A Colorful Life Design. Once the adhesive was dry and tacky I placed it on the white piece of cardstock. I used a blending brush and blue ink to create the background. I used an Exacto knife to cut out some of the stars so that the light comes through the openings. I then cut the panel down to 4 x 6 inches. I then used Lisa Horton's Cloud 9 Solid Black ink pad to ink up the Milky Way stamps from Trinity Stamps. By placing several stamps in my Misti, I was able to stamp all of the images at one time. I colored the images with Copic Markers. Once the coloring was done, I used the coordinating Milky Way dies to cut out each of the stamped images. I used foam squares to mount them on the stenciled background. Now is when I use the Gina K Designs stamp set Make It Move to stamp the "press here". I then flipped the panel over and used foam tape along the perimeter of the back side of the stenciled panel. I cut a 4.5 x 6.5 panel from yellow cardstock. On this panel I added a 3.75 x 5.75 piece of holographic silver paper as close to centered as possible. Time to add the light! Open up your One Light and install the included battery. Place the One Light on the holographic/yellow panel. Lay the stenciled piece over the top to test out the placement of the little button. If the "press here" and button line up you can glue the One Light in place. I use Art Institute Glitter Glue to attach my One Light to the holographic paper. Now it's time to remove the foam tape backing from the stenciled card panel. Carefully lay the panel back down on the yellow/holographic layer. I attached the card panel to a black 5x7 card base. Inside I added a sheet of heavy copy paper. I cut the sheet to 9.5 by 6.75 inches. Fold the sheet in half. Run a fine bead of glue in the crease of the card base. Remember to leave about half an inch without glue at the top and bottom. Slide the folded insert into the folded card. Let dry. I decided that my cow needed some wiggly eyes. I aded 2mm eyes. So much fun! Use code DeanaFan10 to save 10% at A Colorful Life Designs. https://acolorfullifedesigns.com/
Date
November 6, 2026