2026 - Engagement (SOD)
About this Project
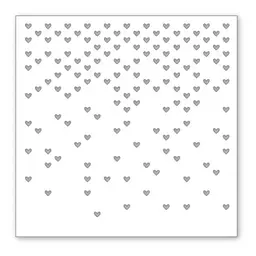
Recipe for making this card: 1j Stamp the image with Memento black ink on X-Press It cardstock. 2) Stamp the image a second time on silver glitter paper with black pigment ink, add clear embossing powder and heat set it from the back. (I used a piece of scrap glitter paper making sure it was big enough to capture the diamond ring. 3) Color the first stamped image with Copic markers. 4) Using an oval, die cut the image out. 5) Using the same oval and one slightly large die cut a piece of silver cardstock to create a frame to go around the colored image. (I lay the ovals down one inside the other to get them straight and then tape them together so they don't move when die cutting the frame.) 6) Die cut a piece of red cardstock for the background and emboss it using an embossing folder. 7) Lightly ink blend both pink inks over the raised areas of the embossed panel to give the background some depth. 8) Die cut an additional oval from plain cardstock. Adhere the silver frame and colored image to this piece to give it some stability. 9) Fussy cut the diamond from the glitter cardstock and glue it on the colored image. 10) Die cut the sentiment and shadow and glue them together. Inside of th card: Since this is a hand delivered card, I taped off the word "sending" before inking up the sentiment. After stamping the sentiment is silver pigment ink and added silver embossing powder over the stamped sentiment, I heat set the embossing powder from the back. After heat setting the sentiment, I used the stencil to add the little hearts using a light touch.
Date
September 8, 2026
Techniques
Copic coloring, die cutting, stamping
Occasions
Products Used
 Gina K. Designs
Embossing Powder
Fine Detail Clear
Gina K. Designs
Embossing Powder
Fine Detail Clear
 Gina K. Designs
Die Set
Double Stitched Ovals
Gina K. Designs
Die Set
Double Stitched Ovals
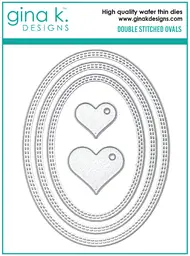 Gina K. Designs
Card Stock
Bubblegum Pink
Gina K. Designs
Card Stock
Bubblegum Pink
 Gina K. Designs
Ink - Mini
Bubblegum Pink
Gina K. Designs
Ink - Mini
Bubblegum Pink
 Gina K. Designs
Ink - Mini
Passionate Pink
Gina K. Designs
Ink - Mini
Passionate Pink
 Honey Bee Stamps
Die Set
Congrats - Honey Cuts
Honey Bee Stamps
Die Set
Congrats - Honey Cuts
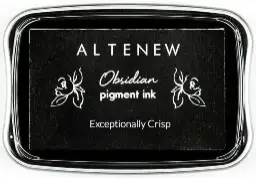
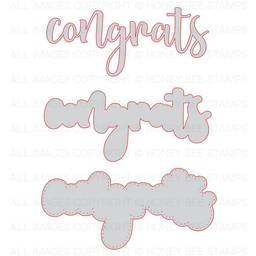 Lisa Horton Crafts
Ink - Full Sized
Cloud 9 Limited Edition Metallic - 3 Pack
Lisa Horton Crafts
Ink - Full Sized
Cloud 9 Limited Edition Metallic - 3 Pack
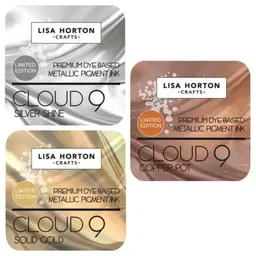 Gina K. Designs
Embossing Powder
Detail Silver
Gina K. Designs
Embossing Powder
Detail Silver
 Spellbinders Paper Arts
Stamp Set
Parcel & Post Sentiments
Spellbinders Paper Arts
Stamp Set
Parcel & Post Sentiments
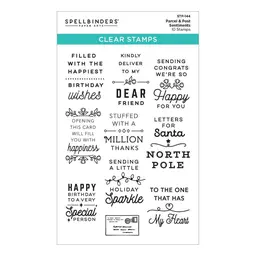 Simon Says Stamp
Stencil Set
Falling Hearts
Simon Says Stamp
Stencil Set
Falling Hearts