Custom Wood Planks TUTORIAL

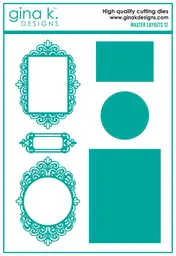
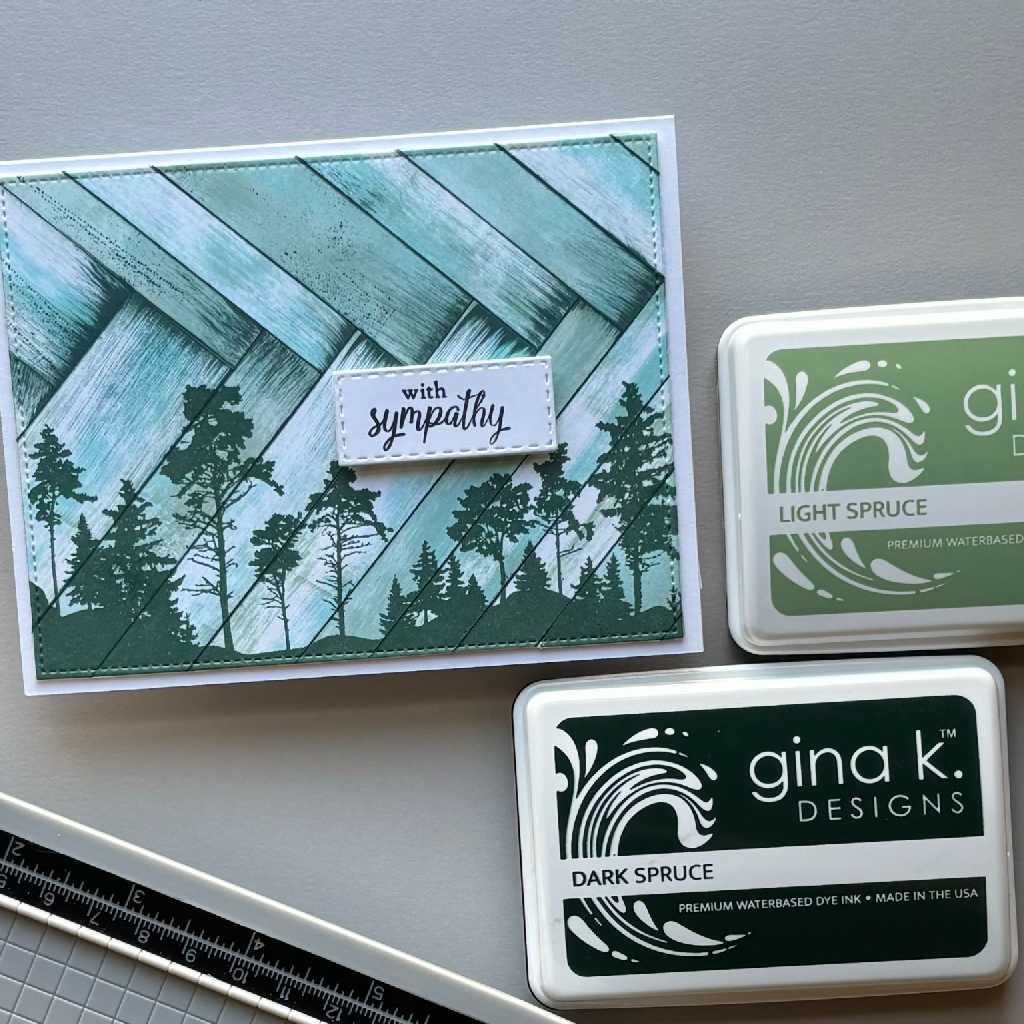
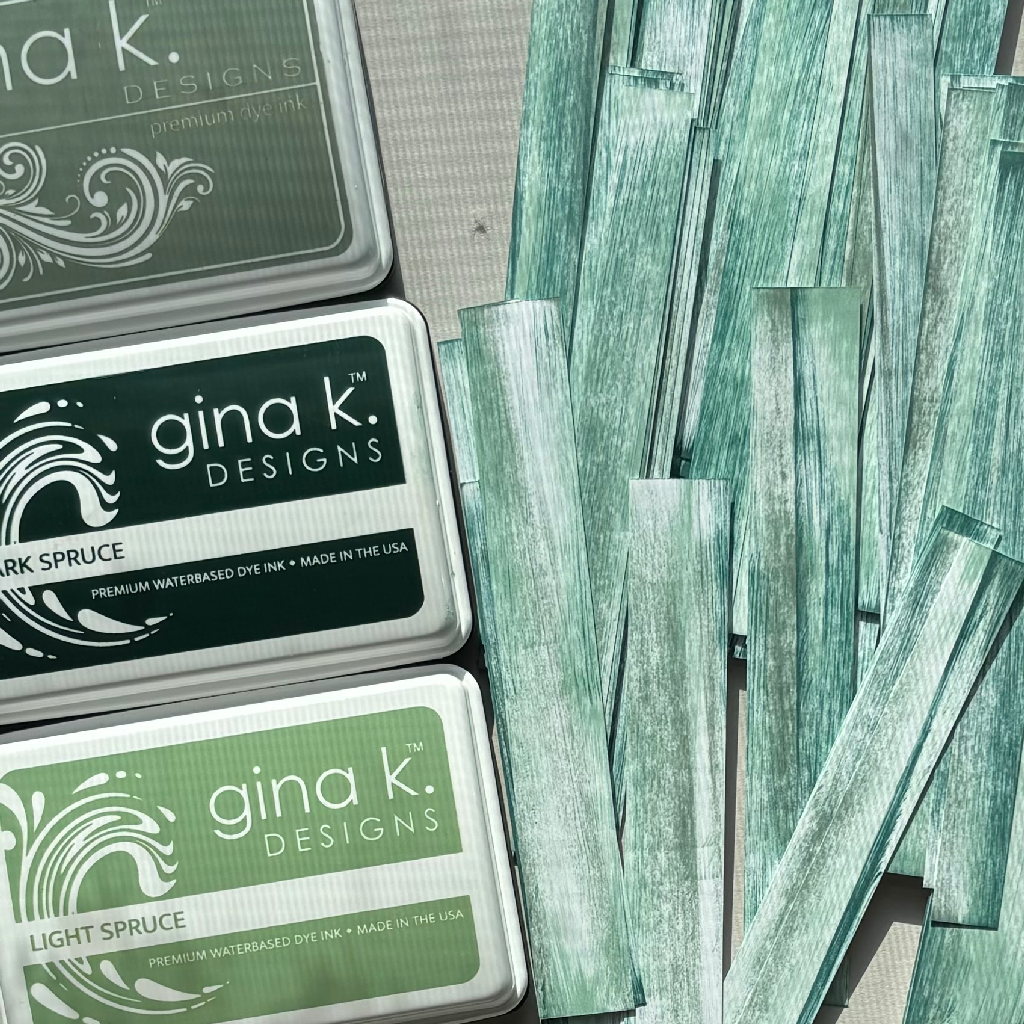
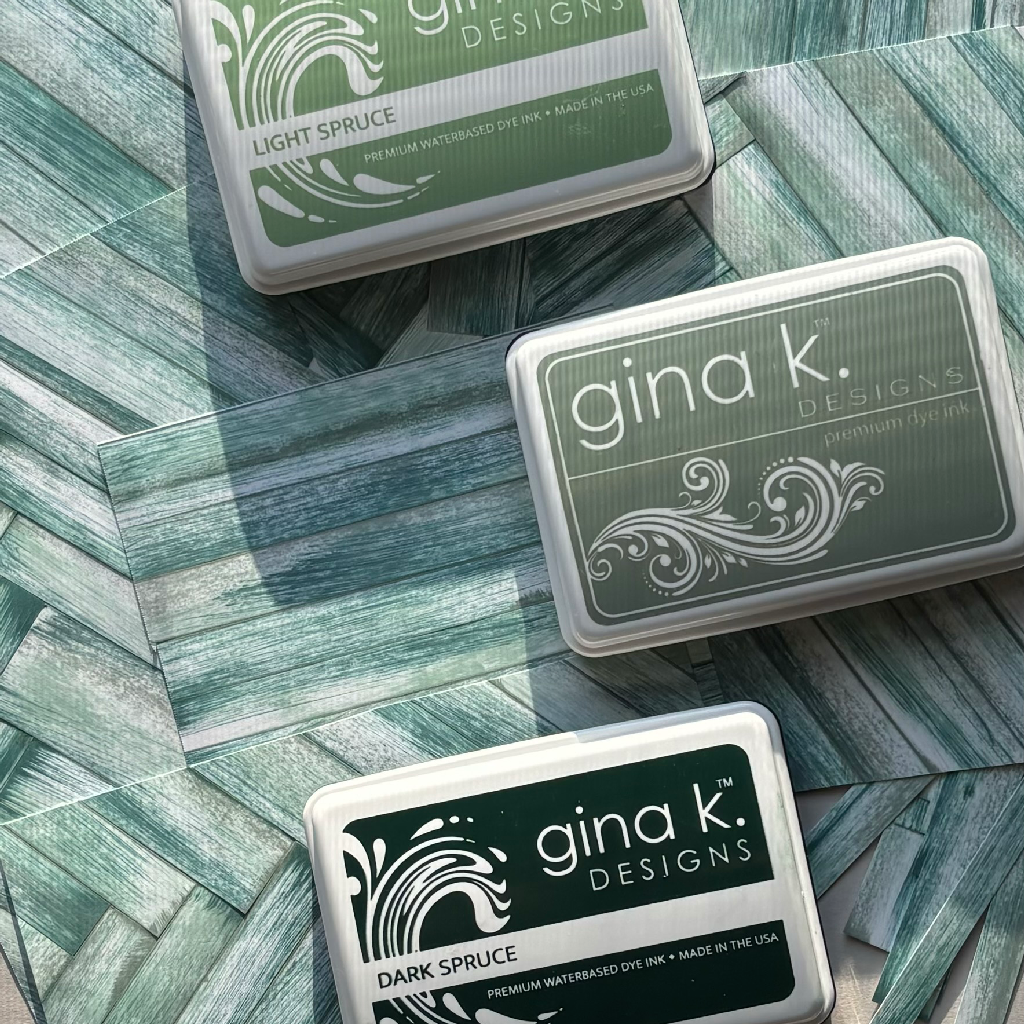
Wood background inspired by Gina K's wood plank technique. DIRECTIONS BELOW Step 1: Cut white cardstock to 5.5x8.5 inches. Step 2: Take ink pads and drag them direct to paper down the 8.5 inch side to create streaks of color leaving some white showing the white is your highlight and will make it look like worn wood. Step 3: Repeat step 2 with your other colors. for this project I used three ink colors LIGHT SPRUCE, MEDIUM SPRUCE & DARK SPRUCE. Step 4: Use your trimmer to cut the "wood" into planks. I did not measure I wanted different widths of wood planks approximately between .25 inches, .5 inches and .75 inches, random widths is what I wanted. Step 5: Cut a piece of light weight copy paper to 4.25 inches by 5.5 inches, this can be scrap paper it's what we will be glueing the planks to so it will not be seen. You want your "backer copy paper" to be bigger than what ever size you want the panel for your final design to be. I used MASTER LAYOUTS 12 for my finished panel. Step 6: add tape runner dot adhesive to the copy paper backer. You will be glueing your planks onto the backer. I recommend dry adhesive Gina K Designs dot runner is the perfect adhesive it's forgiving at first and permanent after a few minutes. You can use liquid glue, however it's just a little messy and you have to wait until it's completely dry to die cut the panel. Step 7: take one your planks and add some of the dark ink to the short ends of your plank to make it looked more aged using the direct to paper method again. Step 8: Place your first plank down on the backer. your first plank placement will determine the wood pattern you want to make. for the card in this project I wanted a herringbone design so I placed it on the diagonal in the middle of the backer. If you want a more simple pattern start straight across your backer horizontally or vertically. Step 9: Repeat the end inking from step eight for every panel. Glue each plank next to the previous one with no gaps. You will have planks hanging off the edges,that's okay you will trim them and can use those scraps to fill in the shorter areas they just need to be long enough to cover your panel in the corners. 10: Once the panel is completely filled use a rectangle die to finish your planks to a completed card front. You have now made a custom piece of wood plank cardstock. the size and shape is whatever you want it to be based on the backer size.
Open in MustStashMade & shared with MustStash — join free